How to Build a Product Walkthrough That Drives Activation
A product walkthrough should get a new user to their first win — not tour every feature. Here's how to design one around time-to-value, where to place it, and how to build it without engineering.
To build a product walkthrough that actually drives activation: pick the single "first win" that makes your product click, map the shortest path to it (usually 4–8 steps), then guide the user down that path with hotspots and one-line tooltips — and trigger it at the moment of intent, not as a pop-up the second they log in. A walkthrough's job is activation, not a feature tour. Here's how to design and build one.
Start from the "first win," not the feature list
The most common walkthrough mistake is touring the UI — "here's the dashboard, here's settings, here's your profile." Nobody activates from a tour. Activation comes from reaching one outcome that makes the value obvious: sending the first message, building the first report, inviting the first teammate. Name that outcome. The whole walkthrough exists to get the user there.
Map the shortest path
Write down the minimum steps from "just signed up" to "first win." Ruthlessly cut anything that isn't on that path. If it takes more than ~8 steps, your first win is probably too far away — pick a closer one. Time-to-value is the metric; every extra step delays it.
In-app overlay vs. standalone demo
Two ways to deliver a walkthrough, and they serve different moments:
- In-app overlay — guides the user on the live product. Best for the actual first session.
- Standalone interactive demo — a self-contained walkthrough you can put before signup (on the website), in onboarding emails, or in help docs. No engineering required, and it works even when the user isn't logged in.
For most teams, a standalone interactive demo is the faster path: you build it without touching the app, and you can reuse it across the website, email, and support.
Build it without engineering
Capture the flow to your first win with a screen recorder, then add the guidance:
- Hotspots mark the single next action at each step.
- Tooltips explain the payoff of each step in a sentence.
- A clear end state — the user should see they've reached the win ("Your first report is live").
No code, no design sprint. (Detail: how to make a clickable product demo.)
Place it where intent is highest
A walkthrough triggered at the wrong time is an interruption. Place it where the user is ready:
- Pre-signup: on the website, so prospects reach the "aha" before they commit.
- First session: triggered when the user lands on the relevant screen, not the instant they log in.
- Re-engagement: emailed to users who signed up but never activated.
See a walkthrough
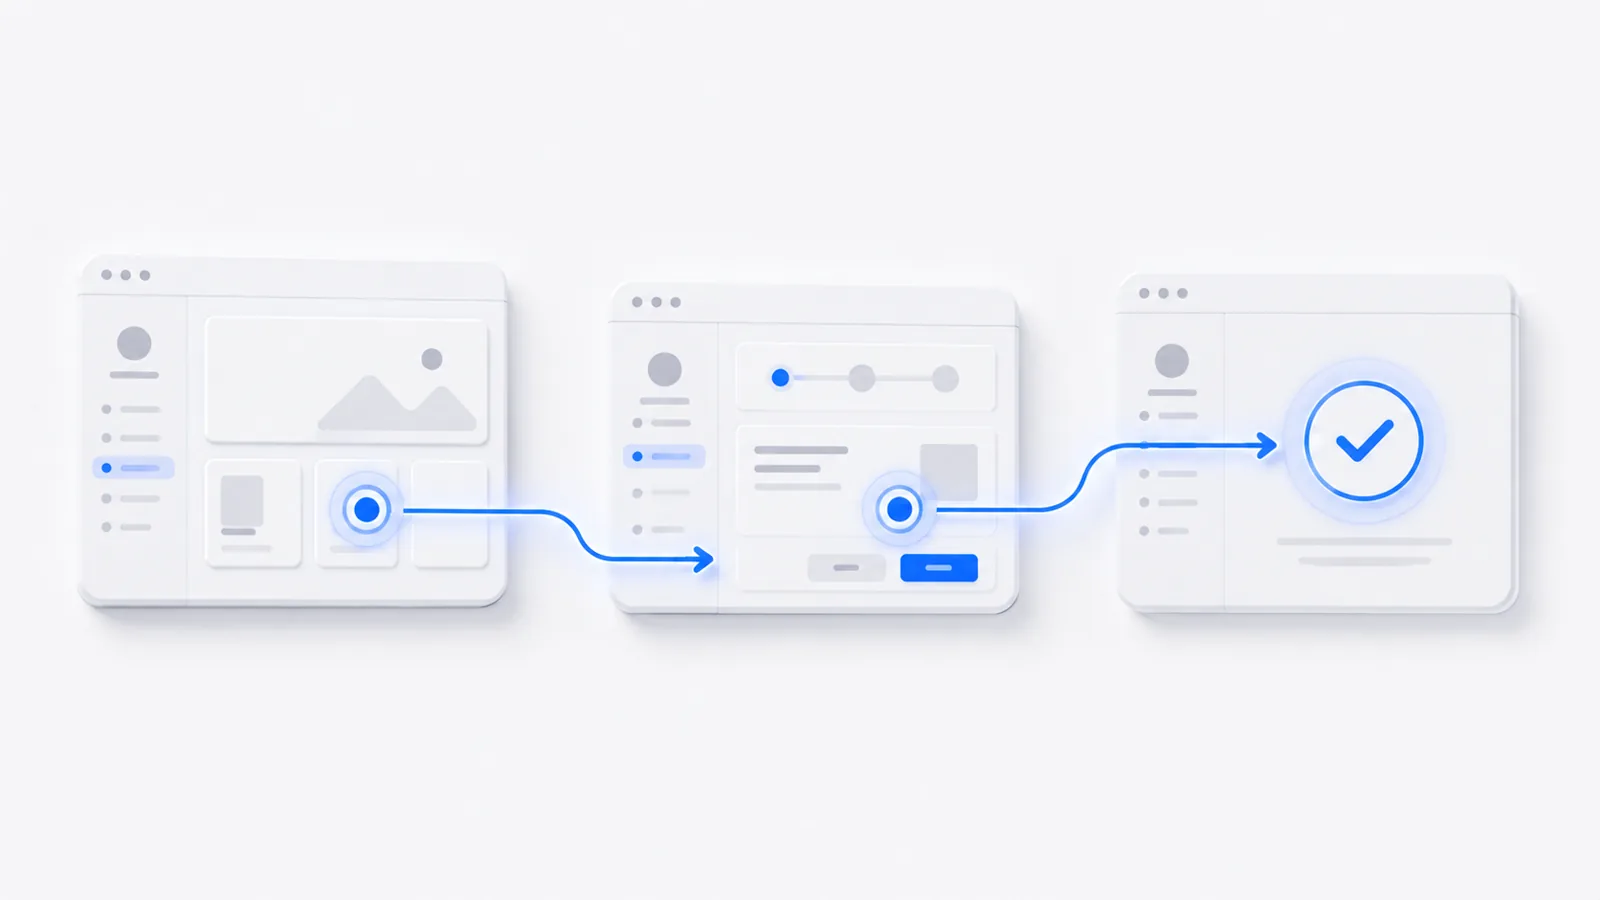
Here's a guided walkthrough built as a standalone interactive demo — one outcome, a handful of steps, fully guided:
Get the first win right and activation follows. For the broader onboarding picture, see user onboarding best practices; for patterns by use case, interactive demo examples.
Frequently asked questions
What is a product walkthrough?
A product walkthrough is a guided sequence that leads a user through a product to reach a specific outcome — most often a new user's first moment of value during onboarding. It can be in-app (overlaid on the live product) or a standalone interactive demo. The goal is activation: getting the user to do the one thing that makes the product 'click.'
What's the difference between a product walkthrough and a product tour?
A product tour points out features ('here's the dashboard, here's settings'); a product walkthrough guides the user to complete a task and reach an outcome. Tours describe the product; walkthroughs get the user to value. Walkthroughs activate better because they're tied to a result the user actually wants, not a feature inventory.
How do I build a product walkthrough without engineering?
Use a no-code interactive demo or onboarding tool. You capture the product flow and add guiding steps, hotspots, and tooltips without touching code. A standalone interactive demo (built in a tool like createademo) can be embedded in onboarding emails or your docs and requires no changes to your app.
How long should a product walkthrough be?
Tie length to a single outcome, usually 4–8 steps. The fastest path to one clear win beats a comprehensive tour. If your product has several 'first wins' for different user types, build a short walkthrough for each rather than one long one for everybody.